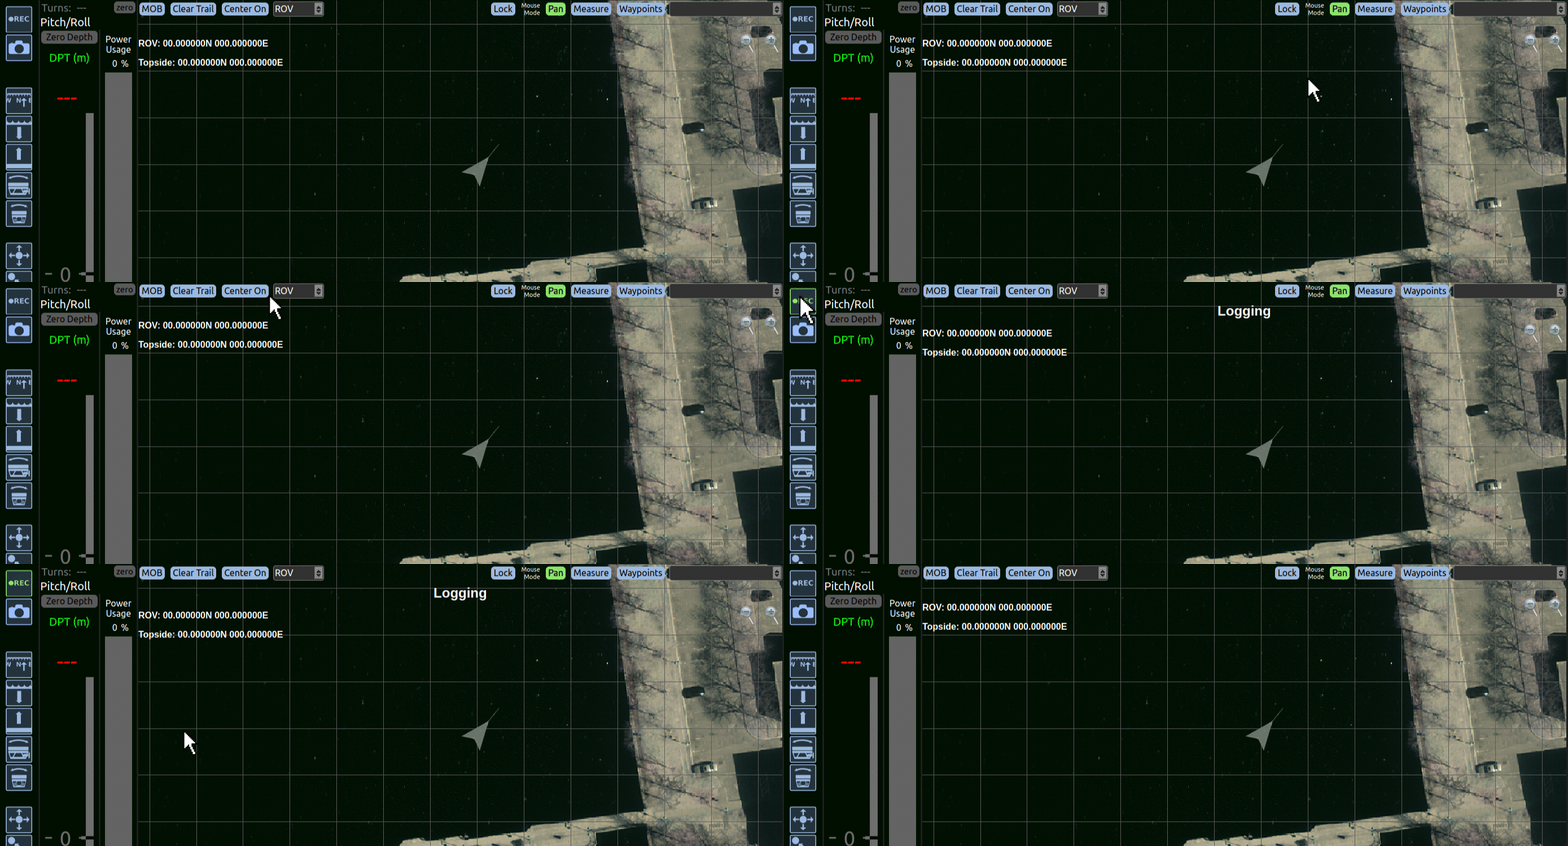
The most important thing you can get from a mission is the proof that it happened. Without pictures, videos, or log data, you have nothing.
Quick Tip #7 will show you how to capture what happened during your mission.
Starting a Log
To start a log, click the REC button in the top left corner of Workspace. It’ll turn green and you’ll see “Logging” appear at the top of the Mission Panel. You’re now recording.
Ending a Log
Click the Record button again and you’re done; you now have a record of your mission saved on your computer. It’s a good idea to stop, and then start a new log every 15 or 30 minutes to keep log files manageable. Also, remember to stop logging before you close Workspace.
You Said Files… How Many Files are There?
I did say files, and it depends. Workspace is (usually) recording three things when it takes a log: An MP4 of the video feed (If you have one), an MP4 of the sonar feed (if you have one), and a telemetry file. The telemetry file is a record of all the signals that Workspace saw while you were recording. If your setup has multiple cameras or sonars, then you’ll have more files.

Where are My Log Files?
It depends, but you can look at the logging tab in Workspace. There, you’ll see the location field, that’s where you can view and change where your log files are saved.
Playback
You can find the Playback tab under the Logging tab in Workspace. If you don’t see it, close Workspace and launch Playback Workspace.